Travel eSIM 2FA Bank Lockout: Stay Connected Abroad
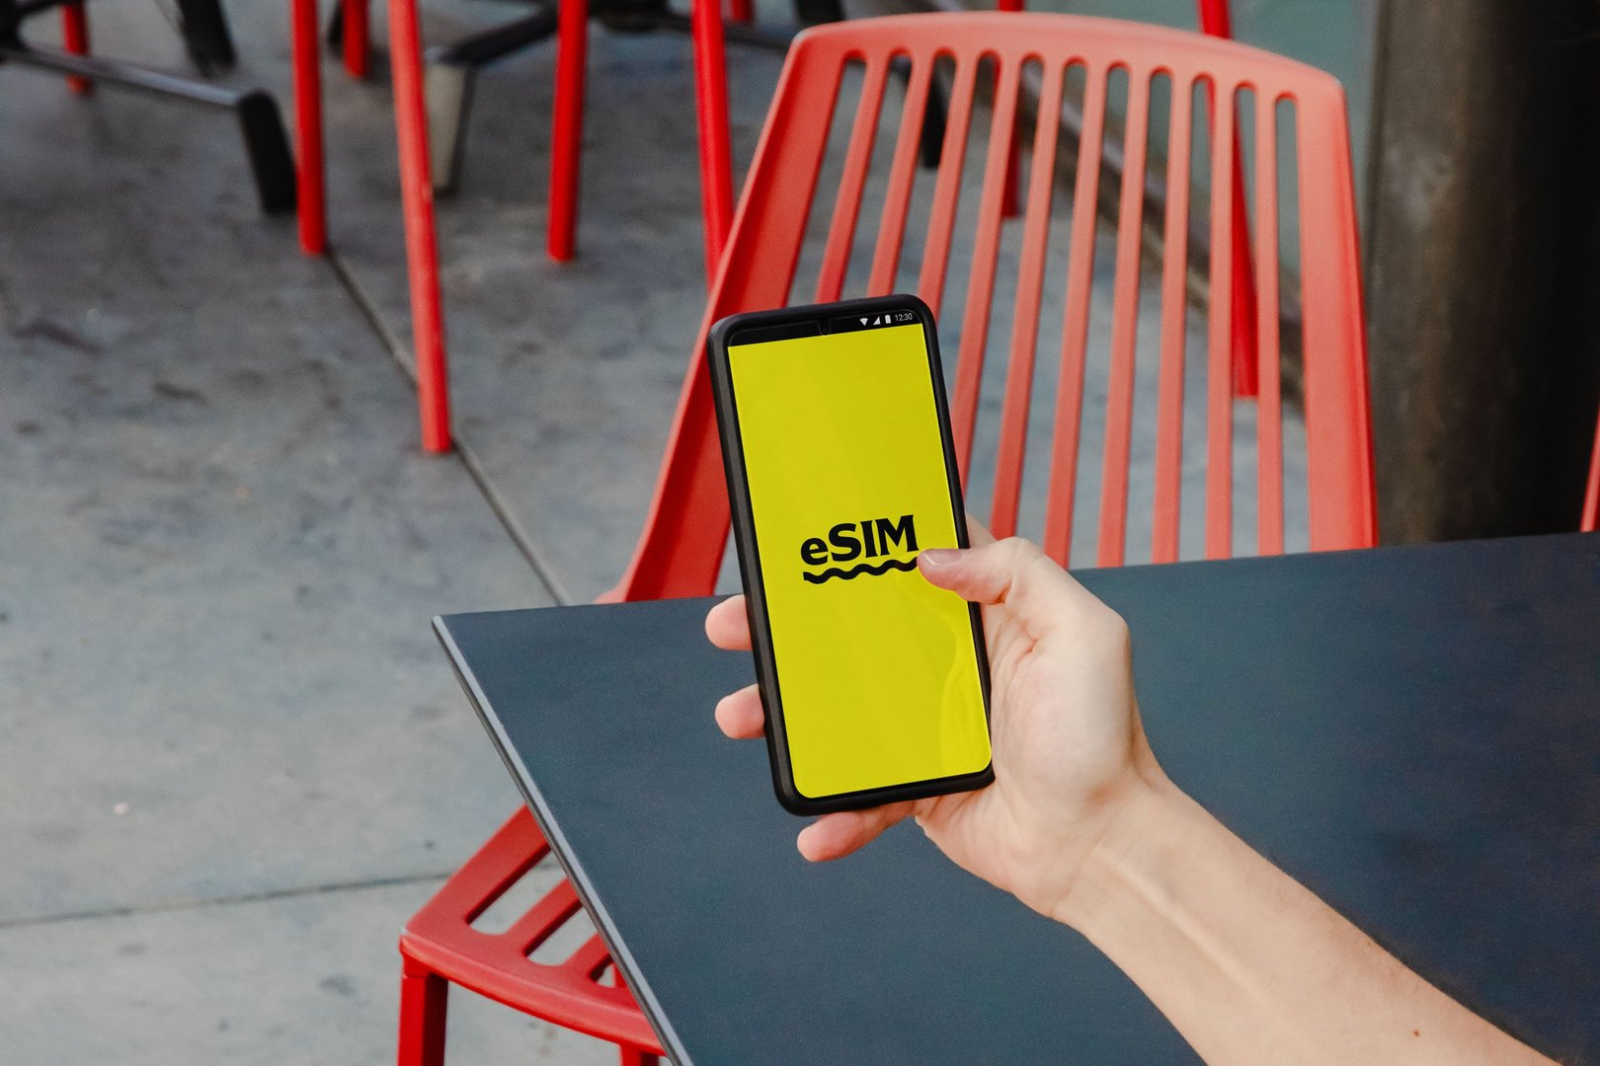
A travel eSIM can give you affordable data the moment your plane lands. Then your bank asks for a code sent to the phone number you left at home. The travel eSIM works perfectly for maps, but it cannot receive the SMS that stands between you and your account.
A lockout can arise when the travel plan is data-only, the registered home line is unavailable, or the bank requires an authentication method you cannot access abroad. The cause depends on the carrier, device and bank.
The fix is simple in principle. Treat connectivity and account recovery as two separate systems. Use the travel eSIM for data, keep your home line available when your bank needs it, test both before departure, and prepare a backup that does not depend on one phone number.
💡 Tip: Install the travel eSIM before flying, but do not delete or disable your home line until you have tested your banking and recovery options.
Why a Travel eSIM Can Trigger a 2FA Bank Lockout
A travel eSIM may provide mobile data without providing a phone number or SMS service. Even a travel plan that includes calling or texting may use a new number that your bank does not recognize. Your bank's code still goes to the registered home number.
That creates four different situations:
Data-only travel eSIM: maps and apps work, but bank SMS may not arrive.
Travel eSIM with a new number: texts may work, but codes still go to the bank's registered number.
Home line active with roaming: bank SMS may arrive, but your carrier may charge for calls, data, or roaming.
Home line disabled or removed: the phone cannot receive codes sent to that number until the line is restored.
A second issue is fraud detection. A new country, new network, new device setting, or unusual purchase can cause your bank to ask for extra verification. That does not mean your eSIM caused the lockout. It means your trip changed the signals the bank uses to assess a transaction.
The Apple international eSIM travel guide and Google Pixel dual-SIM guide both frame travel eSIMs as a line-management problem: you must choose which SIM handles data, calls, and texts. Make those choices before your first payment abroad.
First, identify what each line can actually do.
Data eSIM vs Home Number: Know What Each Line Can Do
Write down your two lines in plain language before changing settings:
Line | Typical job | What to verify |
|---|---|---|
Home SIM or eSIM | Bank number, account recovery, familiar calls and SMS | Can it receive SMS abroad? Is roaming enabled only where needed? |
Travel eSIM | Local data for maps, messaging, translation, and bookings | Is it data-only? When does its plan start? Does it have a phone number? |
Your phone can often keep both lines installed while using one for data. The exact controls vary by device and carrier. On iPhone, check which line is selected for cellular data and whether the home line remains enabled. On Pixel and other Android phones, check default data, calls, and SMS settings separately.
Do not assume that turning off data roaming on your home line turns off all communication. Depending on your carrier, SMS may still arrive, or the line may need roaming enabled to register on a partner network. Check your carrier's international terms before travel.
Also check your bank's delivery methods. Some banks support app approval, passkeys, hardware security keys, email, or an in-app secure message. Others may still rely heavily on SMS or a phone call. Your bank decides which methods are available for your account.
Once you know each line's job, configure them while you still have reliable service.
How to Set Up Dual SIM Before You Fly
Set up and test your phone at home. Airport Wi-Fi is a poor place to discover that your phone is locked to one carrier or that your bank has no alternate verification method.
Check device compatibility. Confirm that your phone supports eSIM and that it is carrier-unlocked if required.
Install the travel eSIM. Follow the provider's activation instructions and note whether activation begins at installation or first network connection.
Label both lines. Use labels such as “Home bank number” and “Travel data” so you do not select the wrong line under pressure.
Set travel eSIM as data. Leave the home line selected for the services that need its number.
Disable data roaming on the home line if appropriate. Do not change SMS or calling settings blindly; verify your carrier's rules first.
Test a bank login and approval. Confirm that the bank app opens, push approval works, and a test SMS or recovery method is available.
Save recovery details offline. Store issuer phone numbers, backup codes, and travel insurance contacts somewhere accessible without mobile data.
On arrival, check the status bar and make one low-value connection test before relying on the setup. Confirm that maps use the travel line and that your home line still shows network registration if your bank depends on SMS.
A phone setup reduces risk, but a bank can still block a transaction. Prepare for that separately.
Build a Bank Access Backup Plan
A backup plan should work when your phone is lost, your home line cannot register, or an automated fraud system will not approve a purchase. Use several layers rather than one replacement channel.
Bank app: Update it before departure and sign in while at home. Check whether it supports push approval or in-app messaging.
Backup authentication: Generate recovery codes or register a security key when your bank supports them. Keep codes offline and private.
Issuer contact path: Save the bank's international number from its official website or card materials. Do not rely only on a search result while locked out.
Second payment method: Carry another card from a different issuer and a small emergency cash reserve.
Account alerts: Turn on transaction notifications so you can spot a declined or suspicious payment quickly.
Trusted contact process: Know whether your bank permits identity verification through a secure call or branch visit.
Authentication methods have different strengths and failure modes. NIST SP 800-63B provides technical guidance on authenticators and recovery; your bank's own policy determines what you can use in practice.
Never send backup codes or full card details through an unverified message. If someone claims to be your bank and asks for a code, stop and use the number printed on your card or listed in the official banking app.
If a transaction is blocked despite your preparation, use the recovery path instead of repeatedly retrying.
What to Do If Your Bank Blocks a Transaction Abroad
After a declined payment, pause and check the bank app or contact the issuer through its official channel. Retry and fraud-block rules vary by bank; one or two attempts is not a universal threshold.
Check the banking app. Look for a fraud alert, approval request, travel notice, or message explaining the decline.
Confirm your line settings. Make sure the bank app uses travel data while the home line remains available for its registered number.
Try your backup card. Use a different issuer if the purchase is urgent and safe.
Call the issuer through an official channel. Use the number on the card or inside the bank app, not a number sent by a stranger.
Explain the travel context. Give your location, merchant, amount, and whether the transaction is pending or declined.
Ask about verification alternatives. Request app approval, secure messaging, or another method your bank supports.
Do not factory-reset your phone, delete the home eSIM, or remove the banking app while troubleshooting. Those actions can make recovery harder. If the phone is lost or stolen, contact the carrier and bank through saved official channels, then change credentials from a trusted device.
The Google account recovery guide illustrates a broader principle: recovery works best when alternate methods are configured before access is lost. Apply that principle to your bank before the trip.
Finish with a short departure-day check instead of relying on memory.
A Departure-Day Connectivity Checklist
Before leaving home:
Confirm your phone is eSIM-compatible and unlocked if required.
Install and label the travel eSIM.
Set travel eSIM as data and verify the home line's SMS requirements.
Test your bank app, push approvals, and available recovery options.
Save the bank's official international contact number offline.
Store backup codes securely offline if your bank provides them.
Pack a second card from another issuer.
Confirm you can access your itinerary and key addresses without data.
When you land, check the data line before opening maps or booking transport. When you pay, keep the home number available for bank verification. When a bank blocks a payment, pause and use the prepared recovery route rather than changing SIM settings at random.
A travel eSIM should make travel easier, not turn your bank account into a locked door. Keep the home number for identity, the travel eSIM for data, and a recovery plan for the moment when neither behaves as expected. That small separation can save an expensive phone call and a very stressful afternoon abroad.